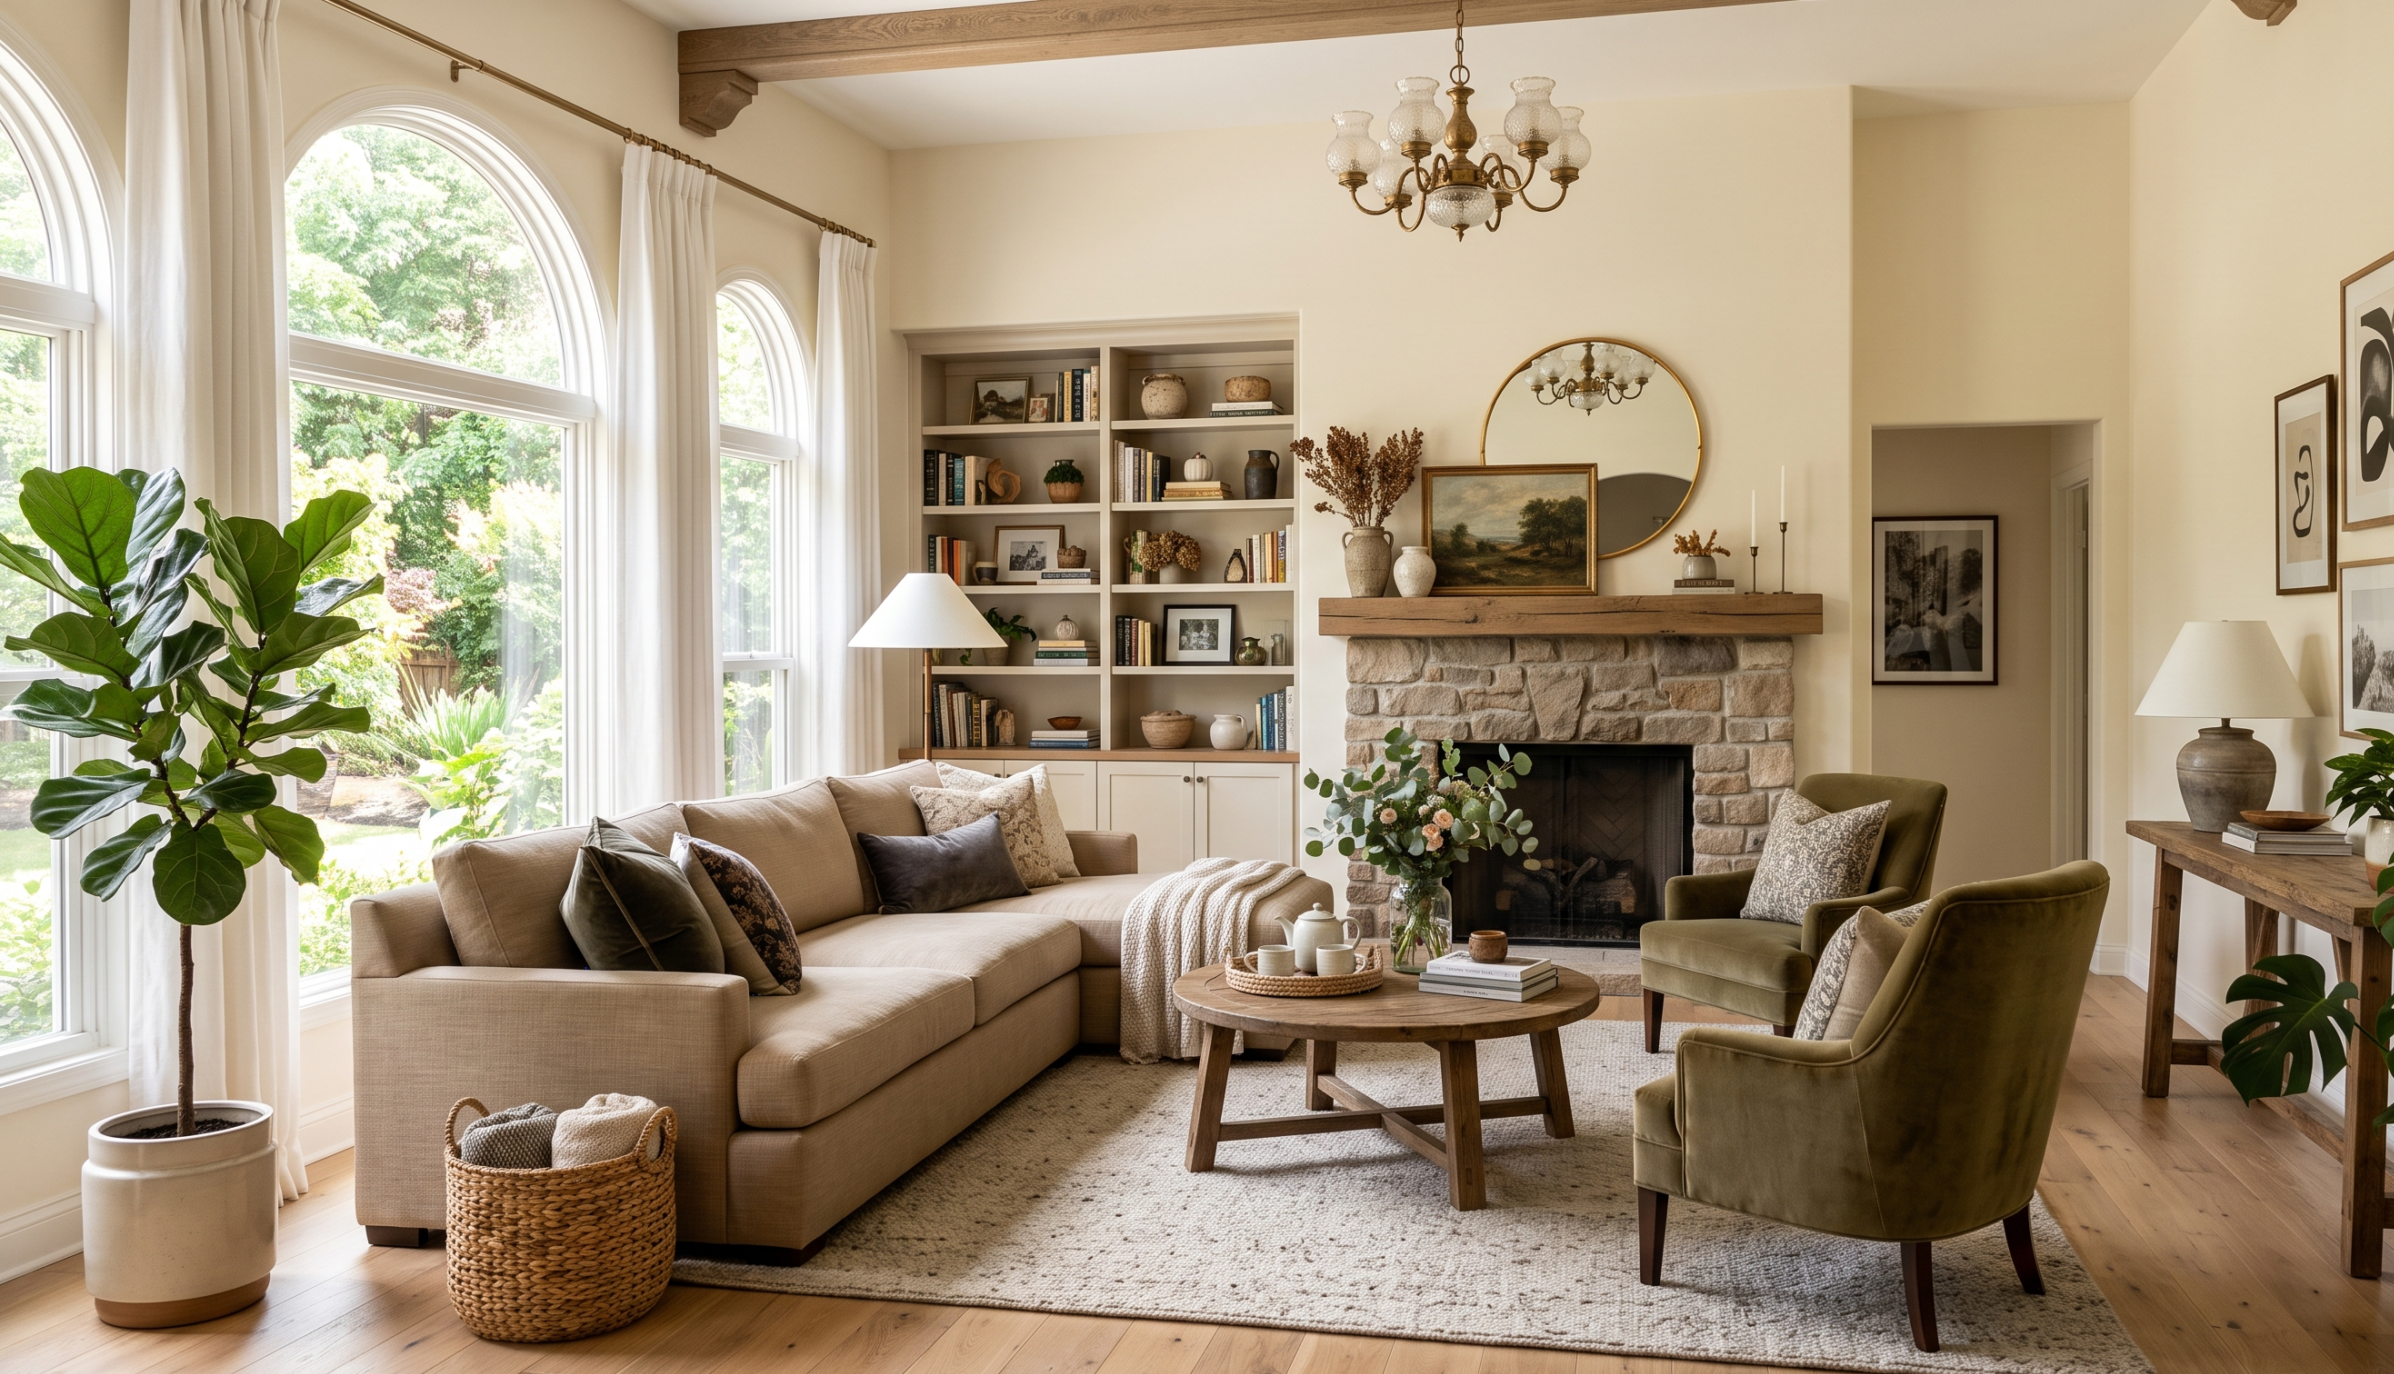
Why We Need to Decorate the House?
Why We Need to Decorate the House? The Ultimate Guide to Transforming Your Space
Your house is more than just four walls and a roof over your head. It is the backdrop of your daily routine, a sanctuary from external stress, and a direct reflection of your identity. While many view interior decoration as purely cosmetic or an unnecessary expense, home decor plays a vital, science-backed role in mental health, emotional stability, productivity, and overall well-being.
Whether you are moving into a new space or updating your current sanctuary, understanding why we need to decorate the house helps you make intentional design choices that elevate your lifestyle. Here is an in-depth look at the fundamental reasons home decoration is essential.
1. Enhances Mental Health and Mood (Neuro-Architecture)
The concept of neuro-architecture how our physical environment impacts our brain chemistry demonstrates that interior design directly influences our emotions.
- Color Psychology: Colors trigger specific physiological responses. Soft blues and muted greens promote calm and reduce anxiety, while warm yellows and terracotta shades boost energy and creativity.
- Natural Light & Airflow: Properly arranged furniture maximizes natural sunlight, which regulates circadian rhythms, enhances vitamin D synthesis, and improves sleep quality.
- Reduced Stress: A thoughtfully decorated room minimizes clutter and visual chaos, triggering lower cortisol levels (the body’s stress hormone).
2. Personal Expression and Identity
Your home is an extension of who you are. Decorating gives you a canvas to express your personality, culture, values, and life journey.
- Displaying Memories: Incorporating family heirlooms, travel souvenirs, and gallery walls creates an environment rooted in personal history and warmth.
- Style Manifestation: Whether you lean toward minimalism, rustic farmhouse, bohemian chic, or modern industrial design, decor communicates your aesthetic preferences without words.
- A Sense of Belonging: Customizing your living environment builds a powerful psychological bond, making a temporary structure feel like a permanent home.
3. Boosts Functionality and Daily Efficiency
Decoration is not merely about aesthetics; it is deeply rooted in functionality and ergonomics. Proper layout planning transforms underutilized areas into high-value zones.
- Spatial Organization: Smart decorative elements like floating shelves, multifunctional furniture, and decorative baskets keep items organized while enhancing visual appeal.
- Traffic Flow: Thoughtfully placed rugs, lighting fixtures, and seating arrangements guide movement smoothly throughout the room.
- Ergonomics: Choosing the right furniture scale ensures comfort, posture support, and physical ease during daily activities.
4. Increases Home Value and Equity
If you own your home or plan to sell in the future, strategic decorating serves as a high-return investment.
- Enhanced Curb Appeal & Staging: Well-decorated homes stand out in real estate listings, attract potential buyers faster, and command higher selling prices.
- Modernization: Updating outdated lighting, hardware, paint, and fixtures preserves structural relevance and market value.
- Perceived Value: A clean, stylish interior projects proper home maintenance, reassuring prospective buyers about the quality of the property.
5. Elevates Social Connections and Hospitality
A warmly decorated home creates an inviting atmosphere for friends, family, and guests.
- Fosters Connection: Comfortable seating arrangements facing toward each other encourage organic conversation and meaningful social interaction.
- Welcoming Vibe: Ambient lighting, soft textiles, and pleasant scents make guests feel comfortable and relaxed instantly.
- Hosting Confidence: Being proud of your home decor eliminates social anxiety associated with hosting gatherings, parties, or family dinners.
6. Creates a Safe and Restful Sanctuary
In an increasingly demanding world, the home serves as the primary retreat for emotional and physical recovery.
- Promotes Better Sleep: A thoughtfully decorated bedroom with blackout curtains, restful colors, and clutter-free surfaces significantly improves sleep quality.
- Dedicated Zones: Defining specific zones—such as a quiet reading nook, a meditation space, or a dedicated workspace—helps maintain healthy boundaries between work and rest.
How to Decorate Your House Intentional: Quick-Start Tips
- Focus on Function First: Determine how each room needs to serve you before purchasing decorative items.
- Start with a Cohesive Color Palette: Choose 3-4 complementary shades to maintain visual balance throughout your home.
- Layer Lighting: Combine ambient, task, and accent lighting to create depth and flexibility.
- Incorporate Biophilic Design: Add house plants, natural woods, and organic textures to connect indoor spaces with nature.
- Prioritize Quality Over Quantity: Select a few meaningful, high-quality pieces rather than overcrowding surfaces with mass-produced clutter.
Frequently Asked Questions (FAQs)
What is the main purpose of home decoration?
The primary purpose of home decoration is to create a functional, visually appealing, and comfortable environment that enhances the physical, mental, and emotional well-being of its occupants.
Does decorating a home have psychological benefits?
Yes. Studies in environmental psychology show that intentional home decor reduces cortisol levels, improves sleep quality, boosts creative output, and enhances overall happiness.
How can I decorate my home on a budget?
You can decorate on a budget by using fresh paint, decluttering, rearranging existing furniture, incorporating indoor plants, updating cabinet hardware, and styling with DIY wall art or thrifted treasures.
What is the difference between home decor and interior design?
Interior design focuses on spatial planning, structural architecture, and functional space optimization. Home decor deals with aesthetic elements like color schemes, textiles, furniture selection, accessories, and styling.
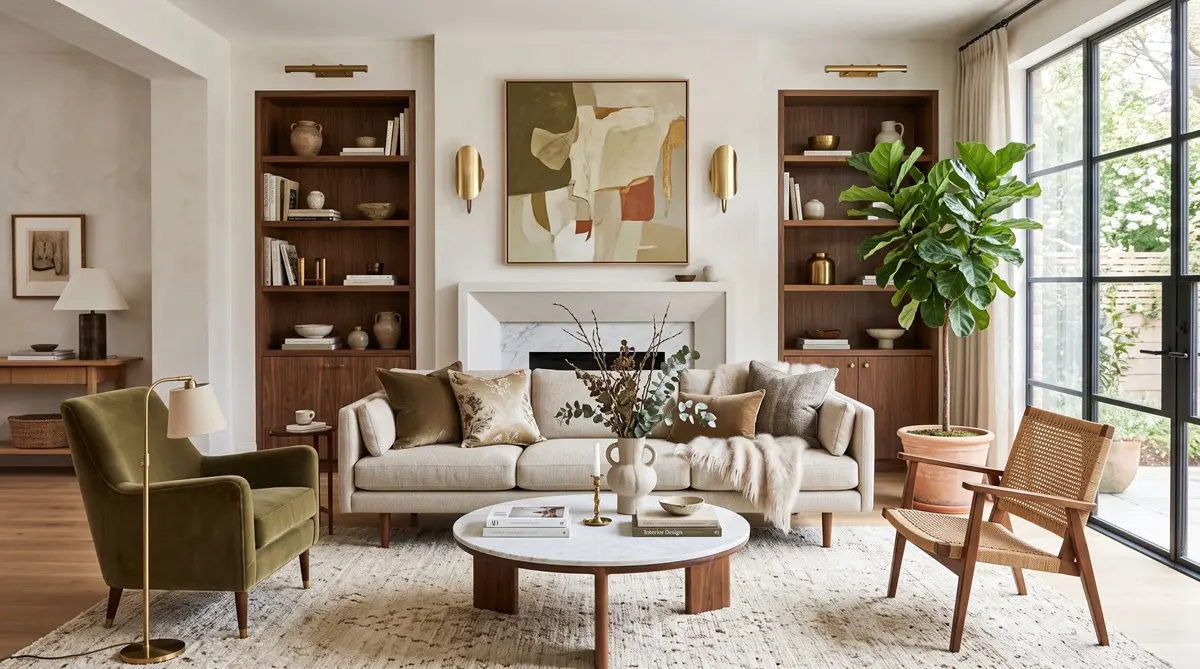
How To Design a Living Room Like an Interior Designer
Before you start your living room makeover, don’t shop for the sofa and don’t paint your walls.
When I worked as a design consultant in a custom furniture store, the sofa was almost always the first thing people came in to buy, and honestly, I understand why. It’s usually the biggest piece in the room and one of the biggest investments you’ll make, but it isn’t actually the first step.
The problem usually isn’t your taste; it’s your shopping before you have a plan.
After working as an interior designer helping clients furnish their homes and renovating the same home for the past 28 years, I’ve learned the easiest way to avoid expensive decorating mistakes is to design the entire room before buying anything.
A beautiful home isn’t about spending more money; it’s about making better design decisions.
The exact 10-step process I would use to design a living room works whether you’re starting from scratch or updating the one you already have.
One of these steps is probably out of order from what you’ve done before.
I’ll show you why I don’t choose the paint color until step nine, and how designers choose the best paint color for almost any space.
Step 1: Measure the Room
Let’s start with the step that makes every other decision easier: measuring the room.
If I were decorating a living room from scratch, I wouldn’t buy a single piece of furniture; I’d measure the room first.
Start by sketching the shape of your room. Don’t worry about making it perfect; just include the walls, doors, windows, the fireplace, and any large openings.
Next, measure the overall length and width of the room. A laser measure is a huge timesaver for longer walls, and a tape measure works great for shorter ones.
Next, measure the details: ceiling height, window sizes, doorways, built-ins, heating vents, electrical outlets, light switches.
Those little details may not seem important now, but they’re often the difference between a room that functions beautifully and one that constantly feels off.
Next, create your floor plan.
I usually create two or three different furniture layouts before I ever start shopping.
When I worked with clients, I used Chief Architect’s Home Designer Pro, but for quick, simple floor plans, I actually use the free planner on the Basset website.
Other great free options include West Elm, Houzz room planner, and Floorplanner.
The best one really depends on the features you’re looking for.
As I start sourcing furniture, I update the floor plan with the actual dimensions of each piece.
That way, I know everything fits, the traffic flow works, and there’s enough room to walk comfortably throughout the space.
Because shopping is fun, planning saves money, and it’s the very first step to avoiding expensive decorating mistakes.
Now that we know what will actually fit, let’s figure out what you actually love.
Step 2: Find Your Design Style
One of the biggest mistakes I see homeowners make is buying pieces they love without knowing they’ll actually work together.
That’s why the next step is figuring out what you actually love.
This isn’t about putting yourself into one decorating box; it’s about recognizing the look you’re naturally drawn toward.
Start collecting inspiration: Pinterest, Instagram, Google, magazine photos save every room that catches your eye.
Don’t overthink it, don’t analyze it, just save it.
After you’ve collected 10 or 15 rooms, start looking for patterns.
Do you keep saving warm woods, curved furniture, organic textures, light and airy rooms, dark moody spaces, modern, traditional, collected?.
You’ll probably notice you’re saving many of the same design elements over and over again.
That’s your personal design style starting to reveal itself.
There isn’t a right or wrong design style.
The goal isn’t to copy someone else’s home; it’s to discover what you like.
Next, test yourself.
Search that design style on Pinterest, for example, “organic modern living room,” “traditional living room,” “coastal living room,” whatever style you think fits best.
Now look at the images.
If you still love those rooms and can picture yourself living there everyday, you’re probably on the right track.
Now take it one step further.
Start shopping online or in person for pieces that match your design style.
Every store has its own DNA: Pottery Barn, Crate and Barrel, Arhaus, Restoration Hardware, West Elm they all have a different look and feel.
Once you know your style, you’ll naturally start gravitating towards certain stores, and shopping becomes so much easier.
One more thing: don’t ask too many people for their opinion.
If they have a completely different design style than you, they’re probably not going to love your choices, and that’s okay.
You’re designing your home, not theirs.
Once you know your style and know where to shop, you’ll make better decisions, spend less money on impulse purchases, and create a home that feels cohesive from room to room.
Now that you know your style, let’s build the color palette that works with it.
Step 3: Build Your Color Palette
Don’t start with paint.
Instead, choose one jumping off piece: artwork, a rug, wallpaper, or even a printed pillow.
This is actually the first thing I usually buy, not the sofa.
Why?
Because I like seeing the colors in person.
Everything else in the room will be built around this one piece, so choose an item with the most colors.
Then, a good guideline is to pull three neutral colors and two accent colors.
That becomes your color palette.
You’ll want to repeat those colors throughout the room in your artwork, your pillows, your rug, your accessories.
When everything shares the same color story, the room naturally feels cohesive.
One mistake I see all the time: people fall in love with a paint color before they know what furniture they’re buying.
Paint is one of the easiest things to change; furniture isn’t.
That’s why paint comes much later.
If you’re struggling to put colors together, remember nature is one of the best color palettes there is.
Look outside; the colors that exist together in nature almost always work beautifully together inside your home too.
Now that we know what the room will look like, let’s start to put everything together.
Step 4: Build Your Mood Board
Now that we have a floor plan, a design style, and a color palette, it’s time to bring everything together.
Open your floor plan, add your inspiration images, your jumping off piece, and your color palette all to your mood board.
Now we’ll start adding furniture.
Don’t buy anything yet; we’re simply designing the room on paper or in the computer first.
I personally use Photoshop to create mood boards, but if you don’t have Photoshop, Canva works great too.
The program isn’t important, the planning is.
One thing to keep in mind: many furniture stores will create a free floor plan or mood board as part of their design service, and that’s a wonderful resource, especially if you’re feeling overwhelmed.
Just remember, they’re naturally going to furnish your room using products from their store, and there’s nothing wrong with that.
But my goal is a little different: I want your home to feel like you, not like a page from one retailer’s catalog.
That’s why I encourage you to curate your room using pieces from a variety of stores.
Maybe your sofa comes from Arhaus, your coffee table from Crate and Barrel, your lamps from Pottery Barn, your rug from a local shop, your accessories from HomeGoods or Target.
That’s how you create a home that feels collected, layered, original, and uniquely yours.
It’s also how you create a designer look instead of a showroom look.
I usually create two or three different versions; designers do this all the time.
Sometimes a second version ends up being the winner, and that’s much easier to visualize now than after thousands of dollars have already been spent.
If it doesn’t look good in your mood board, it probably won’t look good in your living room.
That’s one of the simplest ways to avoid expensive decorating mistakes.
One thing I want you to remember: the goal isn’t to make your mood board perfect, it’s to make better design decisions before spending money.
Before you shop, create your budget.
Now that we can actually see the room, this is when I create my budget not before, and definitely not after I’ve fallen in love with a beautiful sofa.
Right at this time, because now I know exactly what I’m budgeting for.
Some people have a $5,000 budget, while others may have a $25,000 budget, and some may decide to invest even more.
There isn’t a right or wrong amount; the important part is deciding before emotion takes over, because once you walk into Arhaus or Crate and Barrel, everything suddenly feels like a necessity.
A living room price guide with realistic price ranges for everything from sofas and rugs to lighting, artwork, and accessories can help you estimate what your project may cost before you start shopping.
Along with a budget calculator that automatically totals everything as you add your purchases, you can track your budget, your actual cost, dimensions, where you purchase each item, estimate delivery dates, and your overall room total.
That way, you’ll always know exactly where you stand before making your next purchase.
One thing I don’t want you to do is let your budget limit your creativity.
Dream first, design the room, then decide where you want to invest, where you want to save, and where you want to look for a similar look for less.
One thing I always tell people: don’t start looking for alternatives until your room is completely designed.
Once every piece is on your mood board and you know exactly what you’re looking for, that’s when the fun begins.
If you’re over budget, you have options.
Try using Google Lens or Google reverse image search to find a similar piece at a lower price.
You can also search on dupes.com.
Also, keep an eye out for seasonal sales, outlet stores, Facebook Marketplace, or even your local consignment shops, and sometimes you just get lucky.
I’ve found incredible hidden gems at HomeGoods that look like they belong in much more expensive stores.
The key is you’re not wandering through HomeGoods hoping inspiration strikes; you’re walking in with a plan.
You already know exactly what you’re looking for.
That makes it so much easier to recognize a great find when you see one.
Once you know exactly what you’re looking for, finding alternatives becomes so much easier.
Now that we’ve planned the room, let’s start choosing the furniture.
Step 5: Choose Your Sofa
Notice something?
We’re already at step five and we haven’t bought a single thing.
That’s intentional.
The sofa is usually the biggest investment in the room, which is exactly why I don’t choose it until now.
Before you spend thousands of dollars, think about how you’ll actually use it.
Do you have kids, pets, love hosting family and friends, or is this more of a formal living room that gets used occasionally?.
Your lifestyle should determine the type of sofa you buy.
You want to choose the right size, the right shape, the right style, and the right fabric.
If you have kids or pets, I highly recommend looking at performance fabrics names like Crypton, Revolution, or Sunbrella.
They’re extremely durable, stain resistant, and many spills will actually bead up on the surface, which gives you time to wipe them away before they soak in.
I also recommend choosing a tighter weave and a medium tone fabric; they tend to hide everyday wear and tear much better than a very light fabric.
Most people shop for a sofa based on how it looks; designers shop for a sofa based on how it’s going to be used.
Once you find a sofa that you like, add it to the mood board and update your floor plan.
We’re still not buying anything yet.
As you continue selecting your furniture, start ordering fabric swatches.
Most fabric companies will send them to you for free, and don’t just stop at fabrics; you can also get rug samples and sometimes wood samples from different stores.
One thing I’ve learned over the years is that colors on a computer screen can be incredibly deceiving.
Instead, you want to lay everything out together: your sofa fabric, your rug, wood finishes, metal finishes, wallpaper, and eventually your paint samples.
You’re going to look at them during the day, at night, in natural light, and with your lamps turned on.
Seeing everything together now makes choosing paint so much easier later.
Where I splurge and where I save: my philosophy has always been invest in the pieces you’ll use every day, then save on the pieces that are easy to upgrade later.
For me, I spend on the sofa, the rug, the lighting, and anything my family uses every day.
Then I save on throw pillows, throws, decor, accent tables, accessories those are much easier to replace over time.
That’s one of the easiest ways to create a room that looks expensive without spending a fortune.
Now that we’ve chosen the largest piece in the room, we’re going to build everything around it.
Step 6: Add the Supporting Furniture
This is where your plan really starts paying off.
Now it’s time to add the supporting furniture: your coffee table, accent chairs, side tables, console table, media cabinet, ottoman.
Every piece should support your floor plan, not compete with it.
Pay attention to scale.
A coffee table that’s too small can actually make a large sofa feel oversized.
Accent chairs that are too bulky can block your traffic flow.
This is why I always update my floor plan with actual dimensions of each piece before buying anything.
One more thing: don’t buy the matching furniture set.
Matching isn’t the same thing as coordinated.
Some of the most beautiful rooms mix stores, mix finishes, mix materials.
Maybe your sofa comes from one retailer, your coffee table from another, and your lighting from somewhere else entirely.
That’s how you create a designer look instead of a showroom look.
And remember, you don’t have to finish your room in one weekend.
Some of my favorite rooms, including rooms in my own home, have evolved over months, even years.
That’s what gives a home character; it tells your story, not the story of a furniture store.
Now that we’ve chosen the furniture, let’s make sure that your room looks just as beautiful at night as it does during the day.
Step 7: Layer Your Lighting
Lighting is one of the biggest differences between a room that feels professionally designed and one that falls flat.
Every room should include three types of lighting: general lighting, task lighting, and accent lighting.
General lighting fills the room; think recess lights, flush mounts, or chandeliers.
Task lighting helps you do something: reading, working, playing games.
Table lamps and floor lamps are perfect for this.
Then there’s accent lighting; this is what creates mood: picture lights, wall sconces, cabinet lighting, or even candles.
One mistake I see all the time is relying on one overhead light to do everything.
Instead, layer your lighting throughout the room.
The goal is to have light at different heights throughout the room.
Another designer tip: don’t feel like every light fixture has to come from the same collection.
Mixing lighting styles often creates a more custom, collected look.
Just keep the finishes consistent.
For example, if you choose champagne brass, try to repeat that finish throughout the room.
The same goes for black, chrome, or brushed nickel.
That consistency helps everything feel intentional.
And if you’re remodeling or even replacing a few switches, install dimmer switches whenever you can.
I honestly think they’re one of the best investments you can make.
During the day, your room may need bright, functional light, but in the evening, a dimmer switch completely changes the mood.
It creates warmth, atmosphere, and makes your home feel so much more inviting.
People may not notice your lighting, but they’ll absolutely notice how your room makes them feel.
Now that we’ve layered the lighting, let’s add the one thing that makes your home feel uniquely yours.
Step 8: Add Your Artwork
Artwork is where your personality shines.
It reinforces your design style, supports your color palette, and tells your story.
Choose pieces that mean something to you, not just something that’s trending.
One thing I always tell clients: I can narrow down your choices, but I can’t tell you what you’ll love looking at every single day.
That’s something only you can decide.
When choosing artwork, don’t forget about scale.
One large statement piece almost always looks more expensive than several small pieces scattered around the room.
And remember, artwork doesn’t always have to be a framed print.
It could be a photograph, a textile, vintage finds, family heirlooms, or something you picked up while traveling.
Those personal touches are what make a house feel like a home.
Don’t buy artwork just because it matches the sofa.
Now that we’ve chosen almost everything in the room, there’s an important decision left, and it’s the one most people make first: paint.
Step 9: Choose Your Paint Color
Now, and only now, do I choose the paint color.
Go back to your mood board.
Lay out your fabric swatches, your rug sample, wood finishes, metal finishes, artwork, and everything else you’ve selected for the room.
Now start testing paint.
Order small paint samples or peel and stick paint samples.
When you get the paint samples, paint two coats onto 11 by 14 card stock or a board that you can move around throughout your home.
Don’t paint it on the wall because you won’t be able to see the true color.
Look at it on the sample board with white behind it, and you can move it around to different areas of your home.
Look at them during the day, at night, in natural light, and with your lamps turned on.
Paint changes dramatically throughout the day.
That’s why I never choose anything from a tiny paint chip or under fluorescent lights in the paint aisle.
Now choose a color that works with everything else you’ve selected.
One thing I always say: match your $80 gallon of paint to your $5,000 sofa, not the other way around.
Paint is one of the easiest things to change; furniture isn’t.
That’s how designers choose paint.
Now that all the major decisions are finished, it’s time for the details, because this is where a room starts to feel like home.
Step 10: Finish with Accessories
Accessories are the finishing touch.
They make a room feel collected instead of staged.
Start with your window treatments.
Curtains instantly soften a room, add texture, and make your ceilings appear taller when they’re hung correctly.
Then layer in throw pillows, a cozy throw blanket, plants, books, decorative objects, and personal pieces you’ve collected over the years.
One mistake I see homeowners make is buying all their accessories in one shopping trip.
Instead, collect them over time.
Some of my favorite pieces in my own home weren’t purchased together.
Some I’ve had for years, others I found while traveling, shopping locally, or even at HomeGoods.
Those collected pieces tell your story, and that’s what makes your home feel unique.
As you’re styling your shelves, coffee table, or console table, remember what we talked about in step three: repeat your color palette throughout your room.
Those repeated colors are what quietly tie everything together.
And don’t be afraid to edit.
Sometimes removing one accessory makes everything else look better.
Accessories aren’t there to fill empty space; they’re there to add personality.
And here’s the best part: if you followed all 10 steps, shopping is no longer overwhelming.
Every decision becomes easier because you’ve already designed the entire room.
You’re no longer hoping everything works together; you already know it does.
If you’ve noticed anything about this process, it’s that we’ve spent a lot more time planning than shopping, and that’s exactly the point.
A beautiful living room isn’t created by buying expensive furniture; it’s created by making thoughtful decisions.
Measure first, discover your style, create your color palette, build your mood board, set your budget, choose your furniture intentionally, layer your lighting, add meaningful artwork, choose your paint color last, and finish with accessories that tell your story.
When you follow these steps, shopping becomes so much easier.
You’ll waste less money, make fewer expensive mistakes, and create a room that feels cohesive, timeless, and uniquely yours.
Remember, you don’t have to finish your living room in one weekend.
In fact, I hope you don’t.
The best rooms evolve over time as your life changes.
Your home should grow with you, because good design takes time.
It isn’t about getting your room finished as quickly as possible; it’s about creating a home you’ll love years from now.
And one last thing: even though we walked through this entire process using a living room, these 10 steps work for almost any room in your home a bedroom, a dining room, a home office, even a nursery.
The furniture may change, but the foundation stays the same.
Measure first, create a plan, then make thoughtful design decisions.